Hey everyone. I am back with another video. I am a patron for Melody Lane and so I have access to her Design Space files, which is pretty cool. She made a file for a side step Valentines Day card. I cut it all out on my Explore and then shot a video of me putting it together.
Hey, now through Feb 10 you can get all Cricut font cartridges for 33% off. Click Here For Details

Saturday, January 31, 2015
Monday, January 19, 2015
Free Shipping In January From Cricut
This is just a quick note that I found out that Cricut is offering free shipping in January. Just click here and use coupon code FREESHIPJAN
Friday, January 16, 2015
Video Tutorial for Previous Post - Print and Cut Images or Text on a Shape In Design Space
Hey ... omg another post in one day. LOL
I am posting a video to show how I did the printing and cutting text on a shape in Cricut Design Space with out the use of third party software.
I am posting a video to show how I did the printing and cutting text on a shape in Cricut Design Space with out the use of third party software.
Purrfect Friends Card Using Cricut Explore and Design Space - Free File
Good morning.
I created this card this morning, just playing around with Design Space and my Explore. What I wanted to see if I could figure out was how to print on a specific shape with out going outside of Design Space. Trying to save a step or two. Below is a screen shot of my design space file and a pic of the finished card. It is not a knock your socks off card but one to demonstrate what can be done in Design Space. Following the pics, I will describe what I did. I am not the best at tutorials.


First, I inserted some images from the image library. Sorry, didn't take note of the image set. I searched for kitty, scalloped circle and banner.
I found a card base from the Birthday Bash image set / cartridge.
I realize now that I could have went in and hid contours to get rid of the cut line where you are supposed to score, but I did it the long way. I brought in a square, resized it and then selected the base and the square and welded them. It did the trick.
Next I did an image search in the library for score line. Brought it in, placed it where I wanted it and attached it to the card base.
Now the real fun began. I placed the kitty over the scalloped circle. selected both, grouped them and flattened. Guess what... a printer icon appeared for it to print then cut.
Next, I ungrouped the banner. put some text on the white section. selected the white part and the text. Grouped them. Again, flattened them. waaa laaaa. Now my text will print and the Explore will cut out the white part of the banner with the text on It. It worked like a charm.
To finish the card, I placed a very light yellowish piece of card stock on the back side to make the cut out text stand out. Oh yes... forgot about that. I inserted an images that said "Friends" and then selected the card base and the image of friends and did a slice.
My thoughts on this process is how I can use digital stamps in design space. Not to cut but to print on things like banners or can do curved text on a circle shape. Now, I don't have to go into photoshop or Illustrator to create an image to import. Hope this helps others out there wondering if this could be done or not. YES it can.
Lastly, I am going to share the link to my file just in case anyone is interested. Click Here to download
I created this card this morning, just playing around with Design Space and my Explore. What I wanted to see if I could figure out was how to print on a specific shape with out going outside of Design Space. Trying to save a step or two. Below is a screen shot of my design space file and a pic of the finished card. It is not a knock your socks off card but one to demonstrate what can be done in Design Space. Following the pics, I will describe what I did. I am not the best at tutorials.
First, I inserted some images from the image library. Sorry, didn't take note of the image set. I searched for kitty, scalloped circle and banner.
I found a card base from the Birthday Bash image set / cartridge.
I realize now that I could have went in and hid contours to get rid of the cut line where you are supposed to score, but I did it the long way. I brought in a square, resized it and then selected the base and the square and welded them. It did the trick.
Next I did an image search in the library for score line. Brought it in, placed it where I wanted it and attached it to the card base.
Now the real fun began. I placed the kitty over the scalloped circle. selected both, grouped them and flattened. Guess what... a printer icon appeared for it to print then cut.
Next, I ungrouped the banner. put some text on the white section. selected the white part and the text. Grouped them. Again, flattened them. waaa laaaa. Now my text will print and the Explore will cut out the white part of the banner with the text on It. It worked like a charm.
To finish the card, I placed a very light yellowish piece of card stock on the back side to make the cut out text stand out. Oh yes... forgot about that. I inserted an images that said "Friends" and then selected the card base and the image of friends and did a slice.
My thoughts on this process is how I can use digital stamps in design space. Not to cut but to print on things like banners or can do curved text on a circle shape. Now, I don't have to go into photoshop or Illustrator to create an image to import. Hope this helps others out there wondering if this could be done or not. YES it can.
Lastly, I am going to share the link to my file just in case anyone is interested. Click Here to download
Friday, January 9, 2015
Free SVG Cute Hanging Sign.
Good Afternoon
It has been a while since I posted a free svg file. I am posting one for a hanging sign. Would be cute on a card, mini album or scrapbook LO.
Click Here to download
 I will be adding SVG files for purchase to my etsy shop. I have a couple over there right now. Low price. Instant download.
It has been a while since I posted a free svg file. I am posting one for a hanging sign. Would be cute on a card, mini album or scrapbook LO.
Click Here to download
Thursday, January 8, 2015
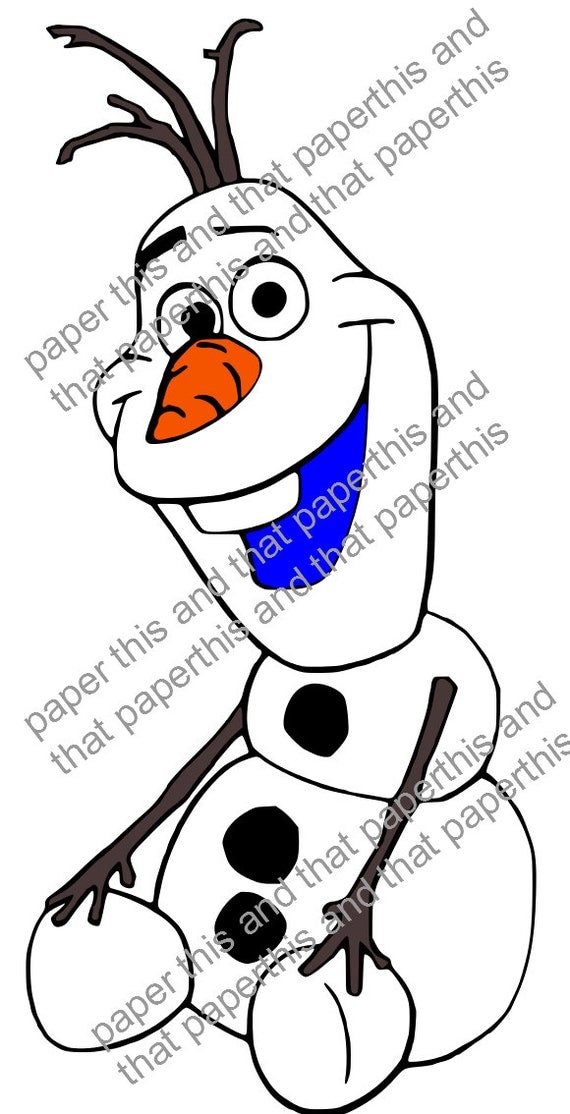
Frozen Olaf SVG file via Etsy
Hello. This is just a quick post to give you the link to an SVG file for Olaf from Frozen. The file is put together in layers for easy cutting. You can import it into Make The Cut, Scal or even the new Cricut Design Space to cut on the Cricut Explore.
Click Here to go to the Etsy Shop
Click Here to go to the Etsy Shop
Wednesday, January 7, 2015
Frozen Themed Elsa Birthday Card on my Cricut Explore
Good Evening.
I am up pretty late today. It is 11:40 PM right now. I just finished a birthday card. It was fun yet tedious at the same time. I read and saw on YouTube that printing some of the images from the Disney Frozen Cricut Cartridge was easier than trying to cut them and piece them together. Which way do you think I went? I took the hard road. I cut Elsa at 4" and even at that size it was a job putting her together.
I popped her up on pop dots along with the snowflake by her hand. I added a couple other snowflakes. They were intricate cuts too. I cut the first part of the sentiment and the last part I wrote it out with my Explore and colored in the letters with a blue metallic Recollections bold tip marker. I bought these markers then realized they were bold tipped when I got the home and won't work in my Explore.
The last thing that I did was used 2 colors of Stickles glitter glue. I used mainly Crystal on her dress and the snowflakes in her hair. I used Waterfall on the other snowflakes and on a couple dots on her dress. I inked the edges of the white layer with a blue ink chalk. I tried to get the light to catch all the sparkle. It got some of it. But below you will find my card.
Saturday, January 3, 2015
Brithday Card For My Brother-n-law
I happen to be playing with my beloved Explore this morning and I made this card for my brother-n-law. I cheated and didn't make it from scratch. It was in the make it now projects. I added stickles to the candle flames to add something more to the card. I inked the edges of the banner as well. His birthday is coming up at the end of the month. I know that I have plenty of time, but I just love playing with my toy.

Subscribe to:
Posts (Atom)